
Now that you have configured your food blog with all the essential WordPress plugins and have customized it as well, there’s one last thing. You need blogging tools.
There are hundreds of blogging tools on the web but you don’t have to try all of them. I’m focusing only on 3 tools: Yoast SEO Plugin, Google Webmaster Tools, and Google Analytics. Everything else is optional and subjective as it entirely depends on your blogging/personal preferences.
Don’t Miss: Over 101 Blogging Resources (Tools & Apps) I Can’t Live Without
1. Yoast SEO
Yoast SEO is not exactly a blogging tool but a WordPress plugin. It’s the ultimate SEO plugin for WordPress that allows you to optimize almost all the SEO aspects of your WordPress site.
Some of the features offered by WordPress SEO plugin are:
-
It checks whether a page is search engine optimized or not.
-
It enables XML Sitemaps, Breadcrumbs, RSS Optimization.
-
It lets you edit your .htaccess and robots.txt file from within WordPress dashboard.
-
It allows you to no-follow or no-index pages.
-
It allows you to define a canonical URL.
-
It offers Facebook, Twitter, and Google+ integration.
-
It’s multi-site compatible.
- …and many other features.
Here’s the Yoast SEO Dashboard.
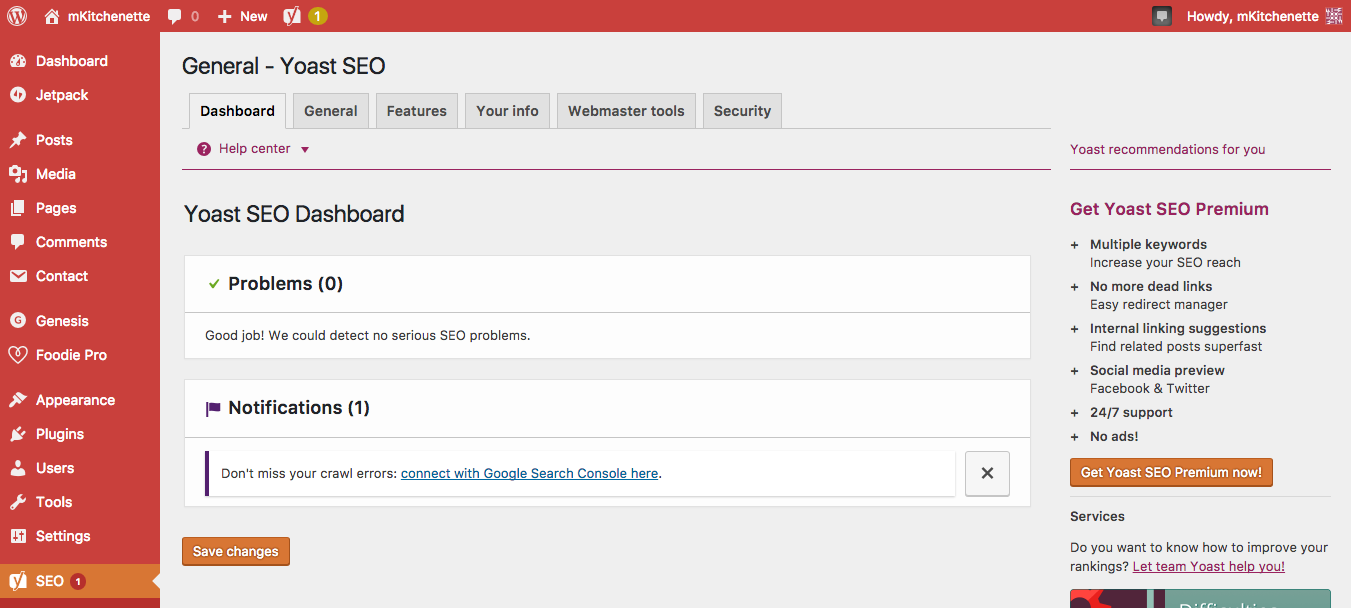
1.1. Yoast SEO Dashboard – General
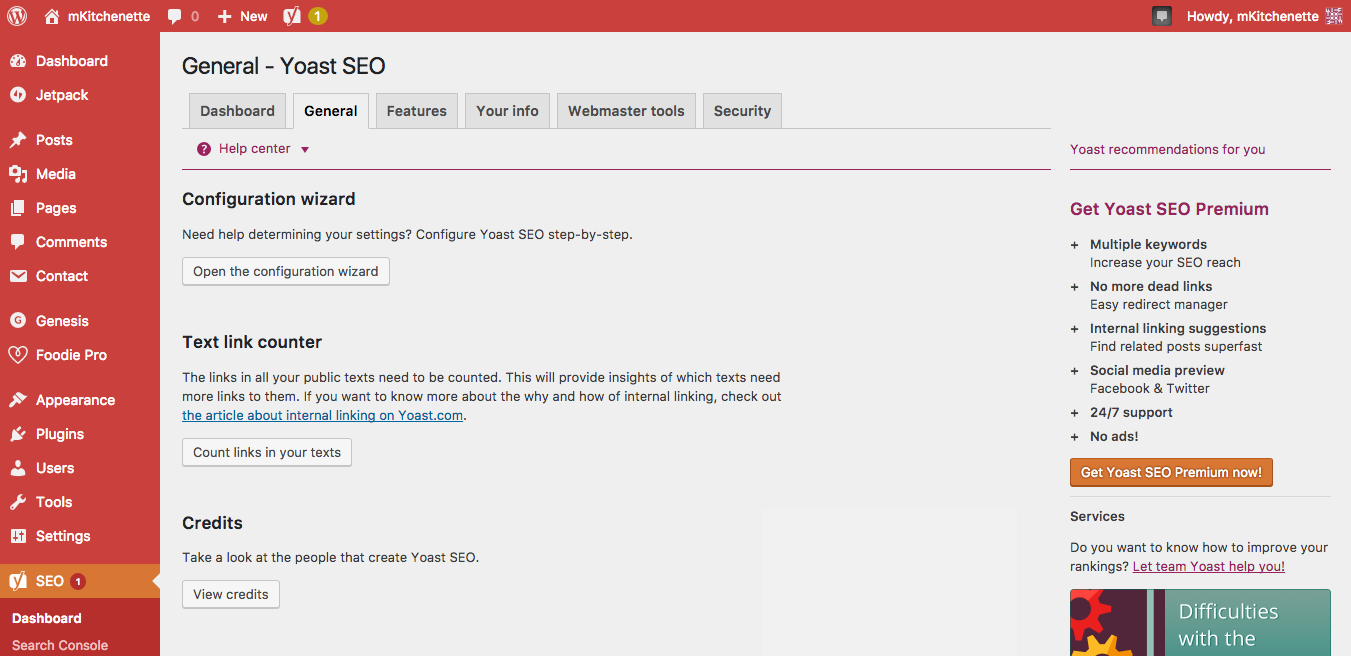
You can click the “Open the configuration wizard” to configure Yoast SEO plugin by yourself or you can follow my guide and set various options exactly as I did (replacing the website name and tagline with yours). You can change it later as you learn more about it.
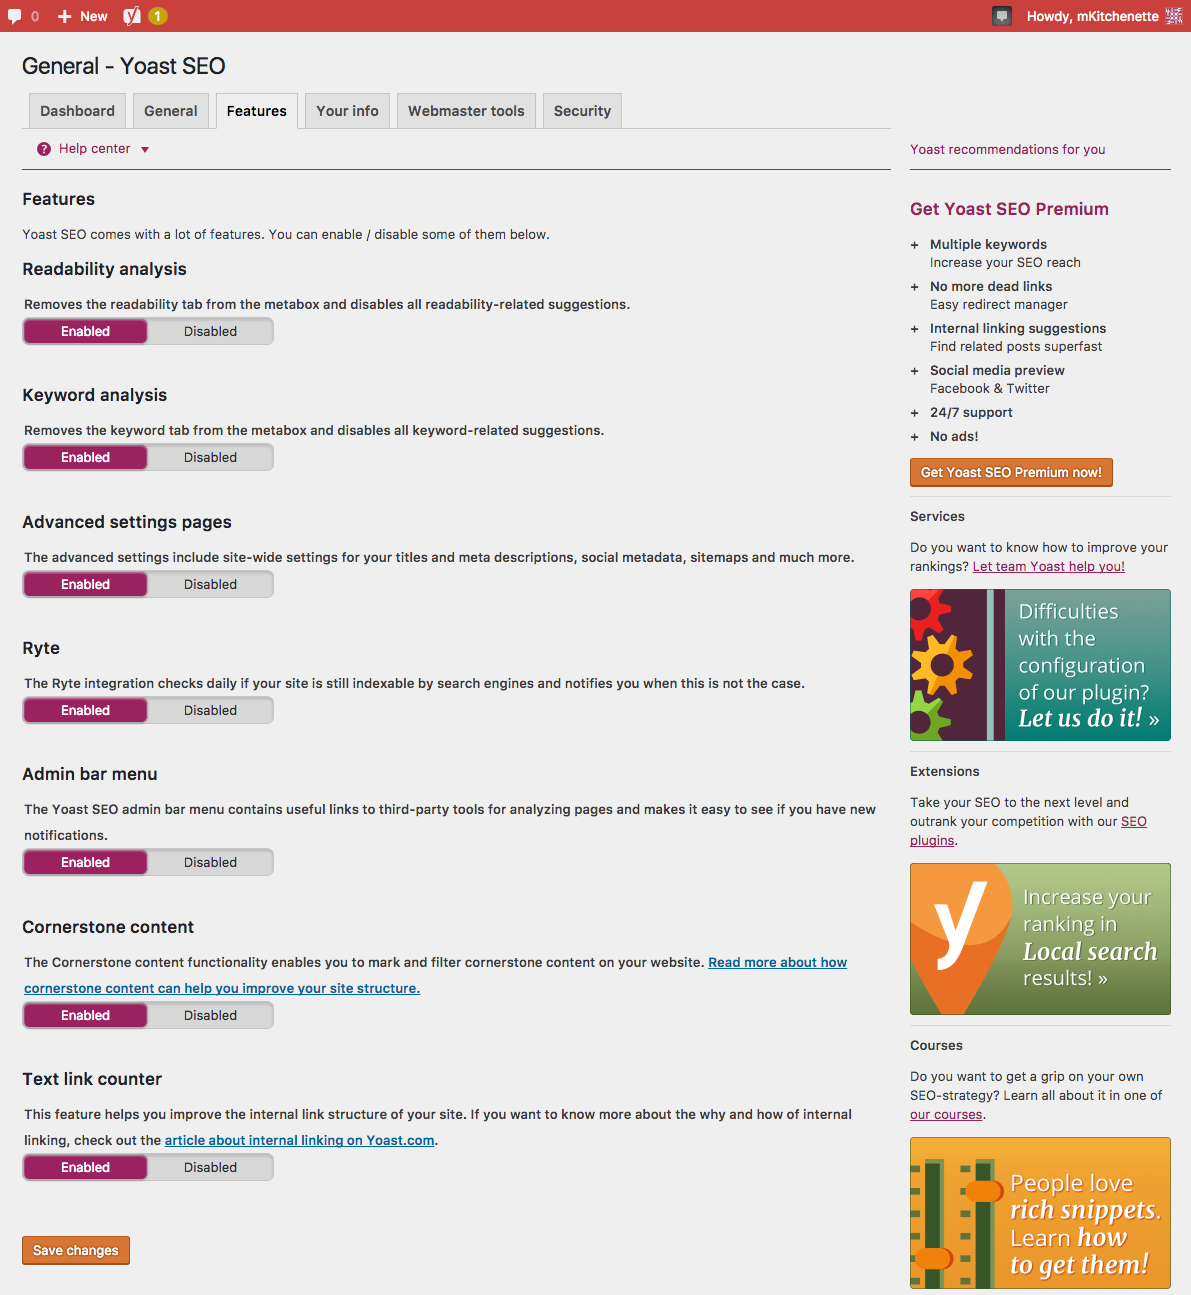
1.2. Yoast SEO Dashboard – Features
1.3. Yoast SEO Dashboard – Your Info

1.4. Yoast SEO Dashboard – Webmaster Tools
Google Webmaster Tools (or now known as Google Search Console) provides insights about your website’s visibility on Google.
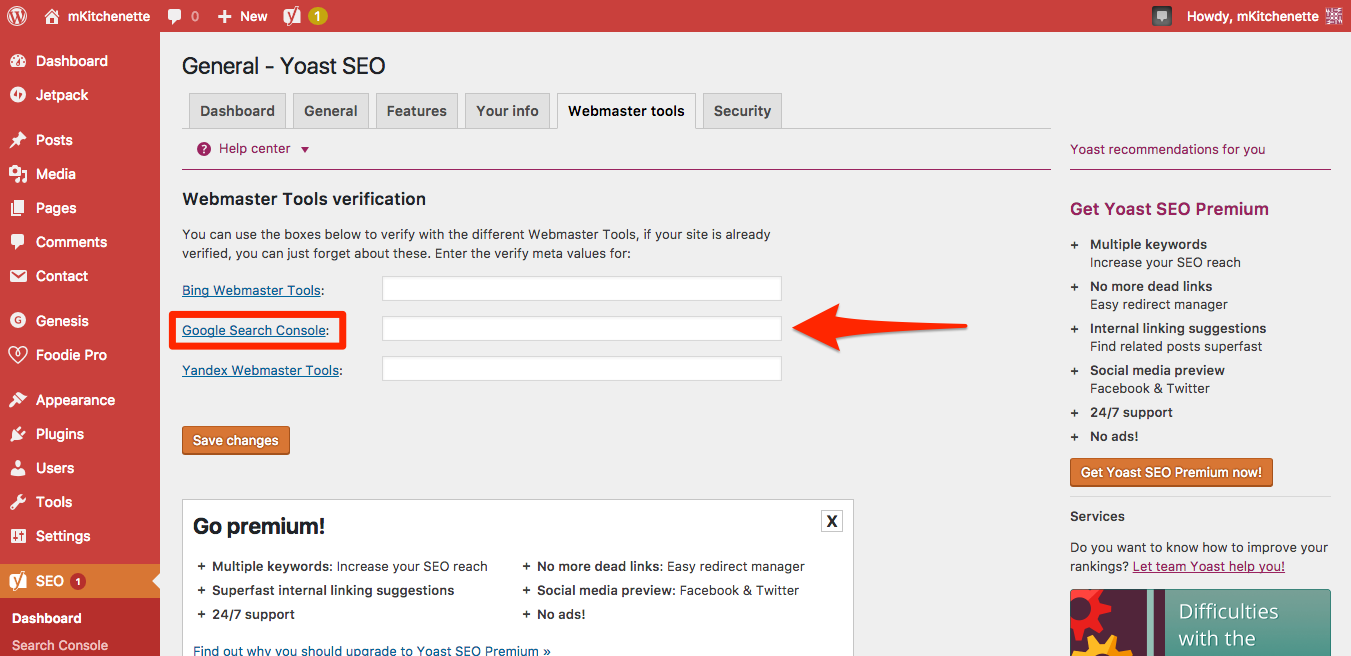
Click on “Google Search Console” to claim the ownership of your domain name on Google Search Console. And it will open Google Webmaster Central.
2. Google Webmaster Central
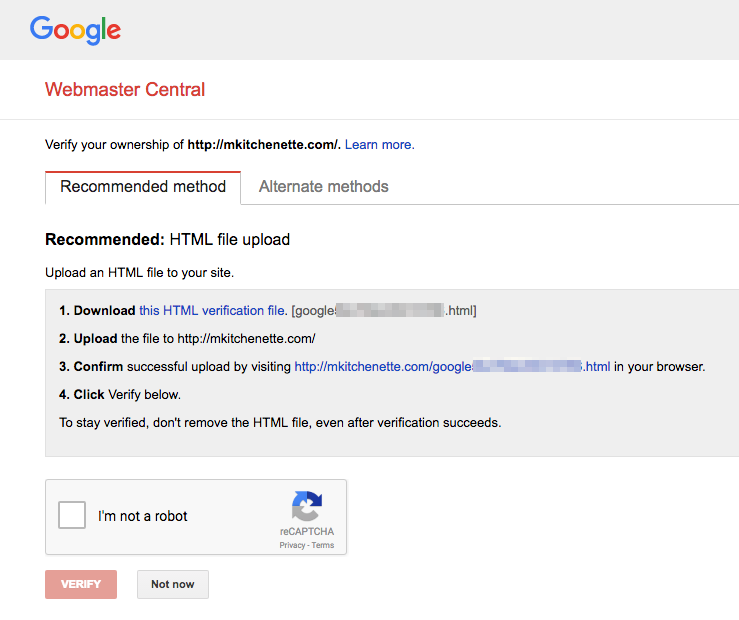
The recommended way to verify your domain name is HTML file upload method as it’s a set and forget kind of method. But if you are a beginner and don’t know how to manually upload files to your server then the easiest way is HTML tag method (in Alternate methods).
2.1. Verify Your Domain Ownership
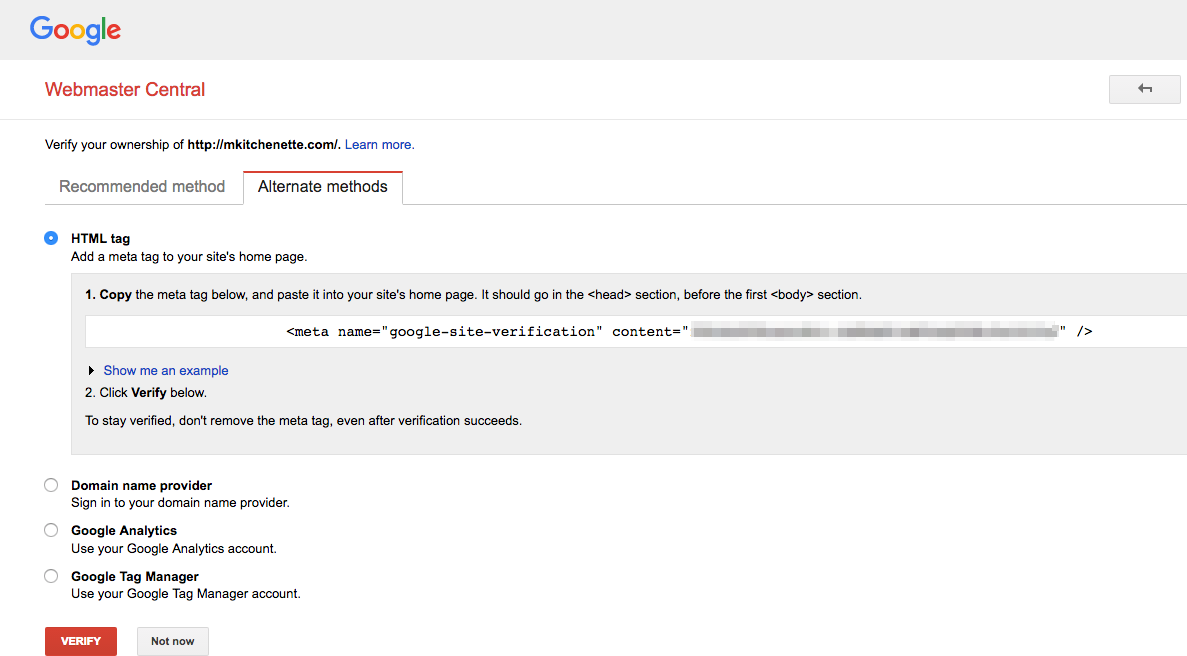
Click “Alternate methods” and select “HTML tag” from the list. It will show the verification code (in an HTML code).
2.2. Yoast SEO Dashboard – Webmaster Tools Verification
Now all you need to do is copy-paste the secret code to Yoast SEO > Dashboard > Webmaster Tools > Google Search Console field.
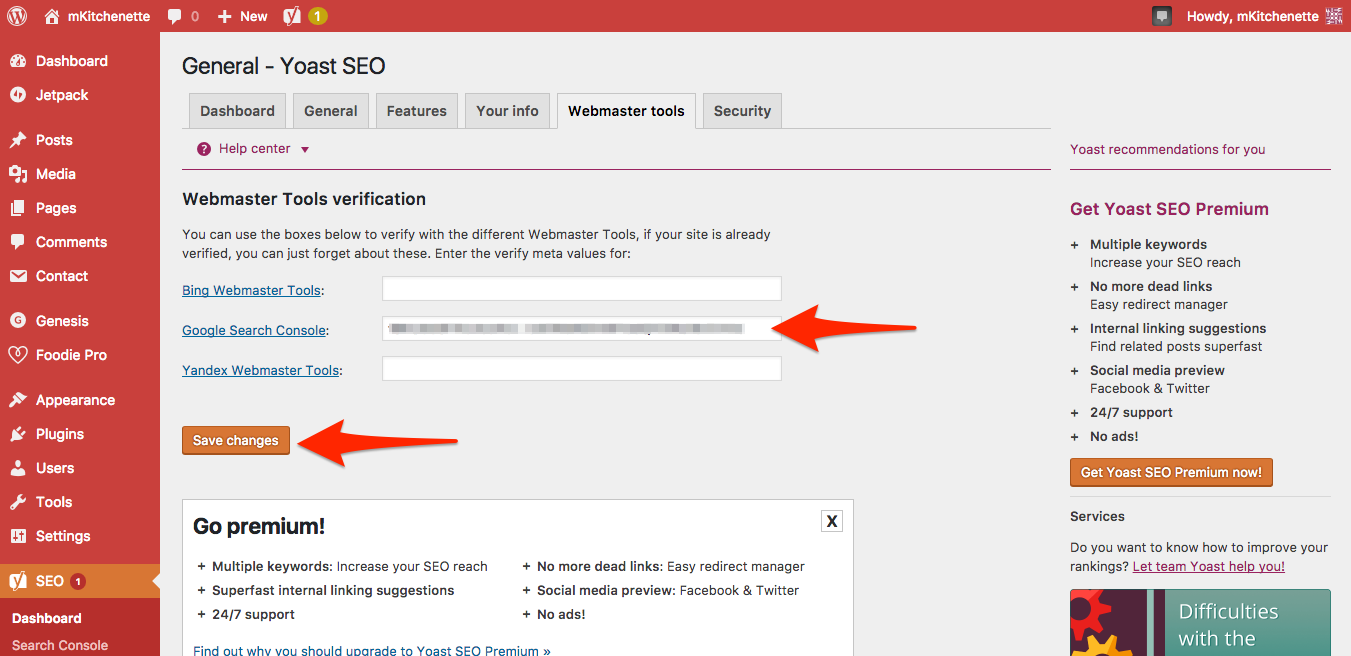
Click “Save changes”.
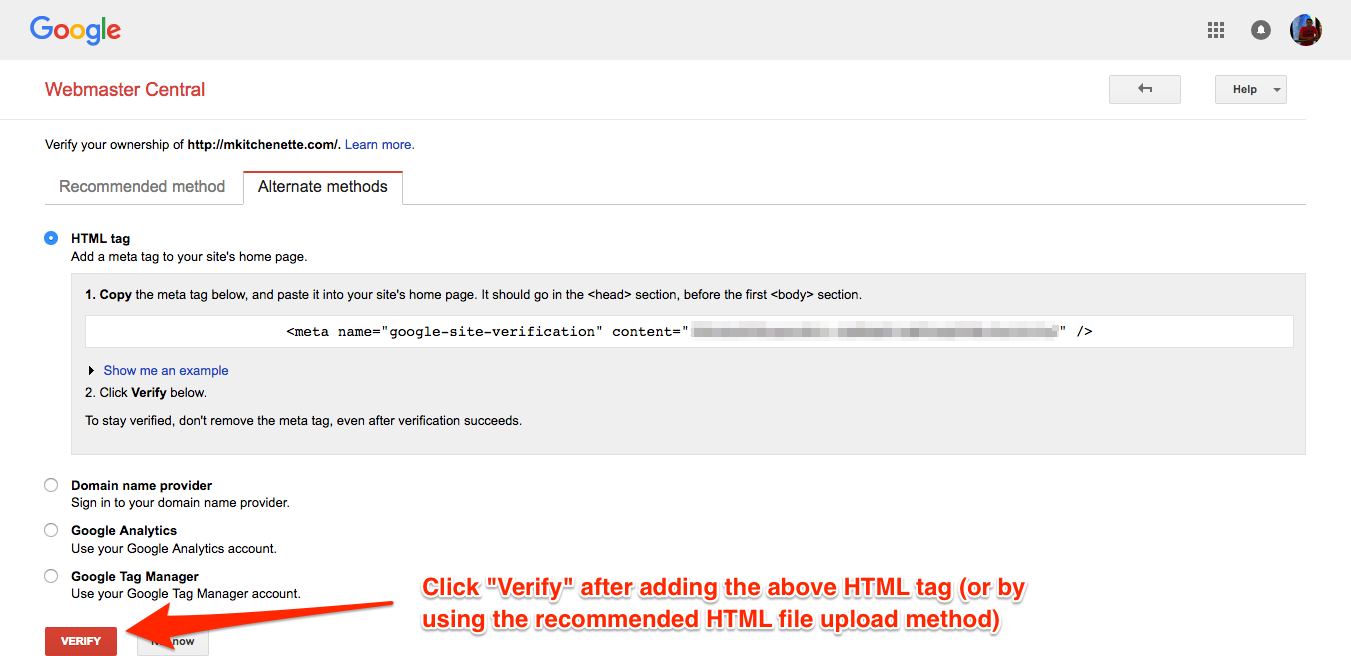
2.3. Verify Domain Ownership
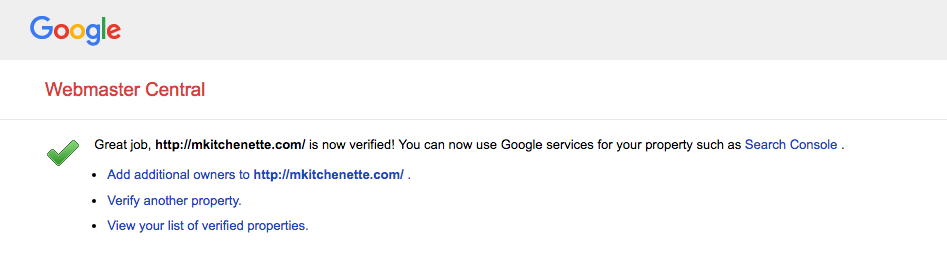
Go back to Google Webmaster Central and click the “Verify” button.
2.4. Verified Domain Ownership
3. Yoast SEO Dashboard – Security
Enable advanced part of the Yoast SEO plugin as it gives you more control over your WordPress site’s SEO.
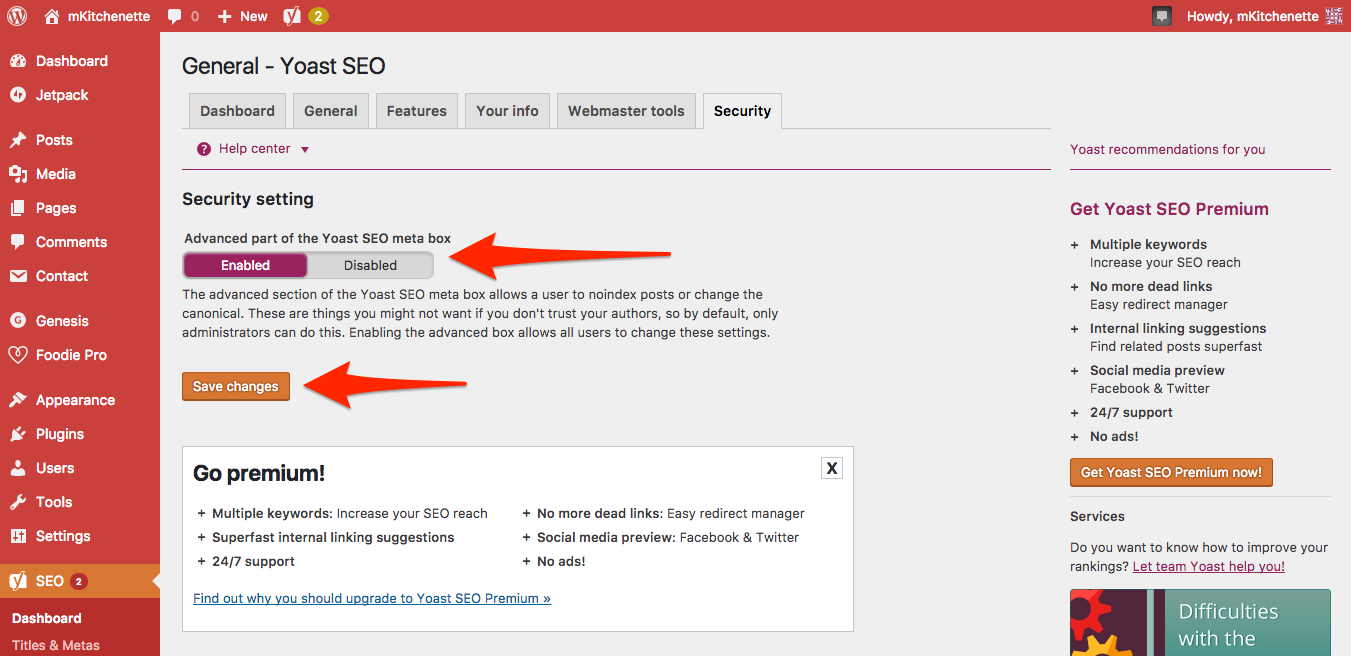
Click “Save changes”.
4. Yoast SEO Titles & Metas – General
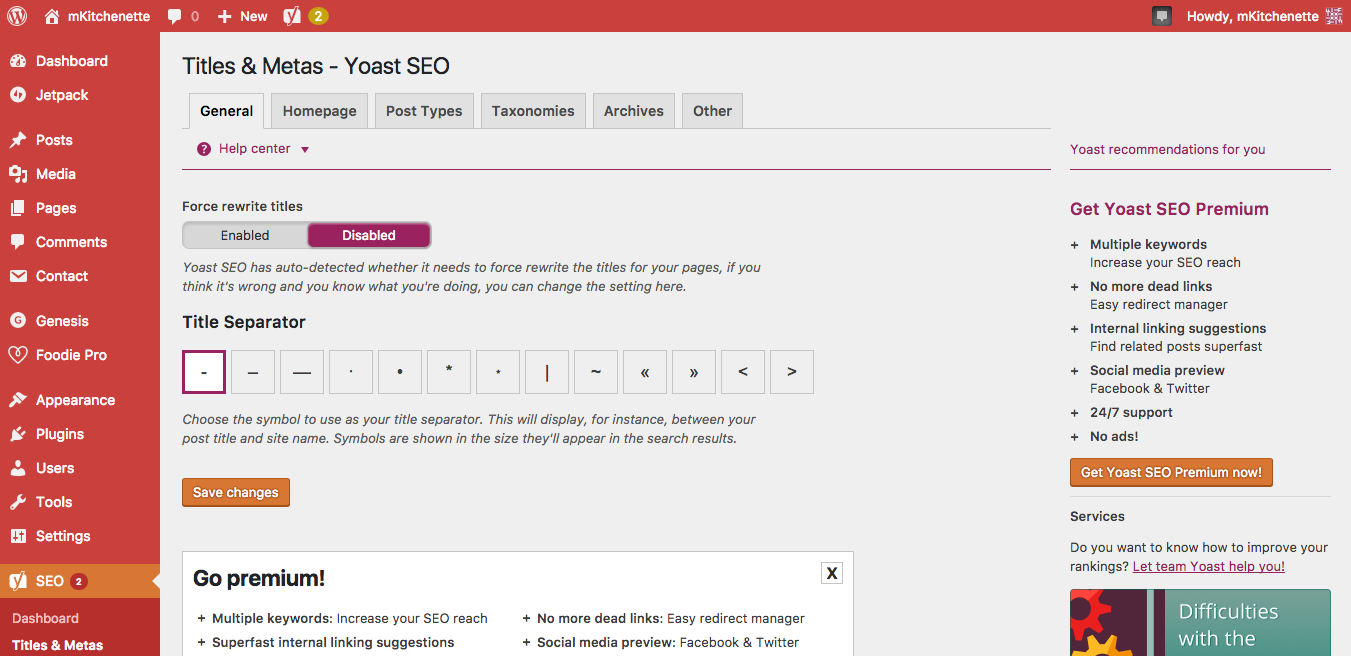
Yoast SEO Titles & Metas option lets you customize the titles, meta description, and indexing option of your WordPress pages and posts and archives (categories, tags, media, author, date).
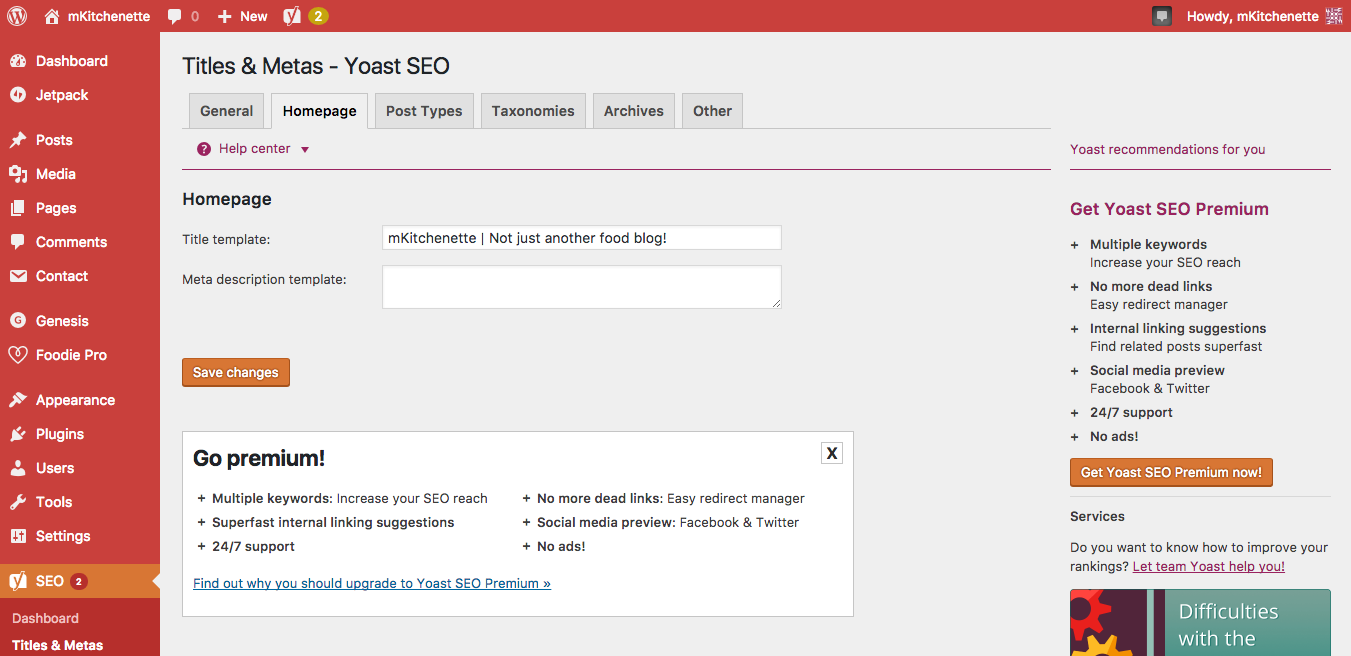
4.1. Yoast SEO Titles & Metas – Homepage
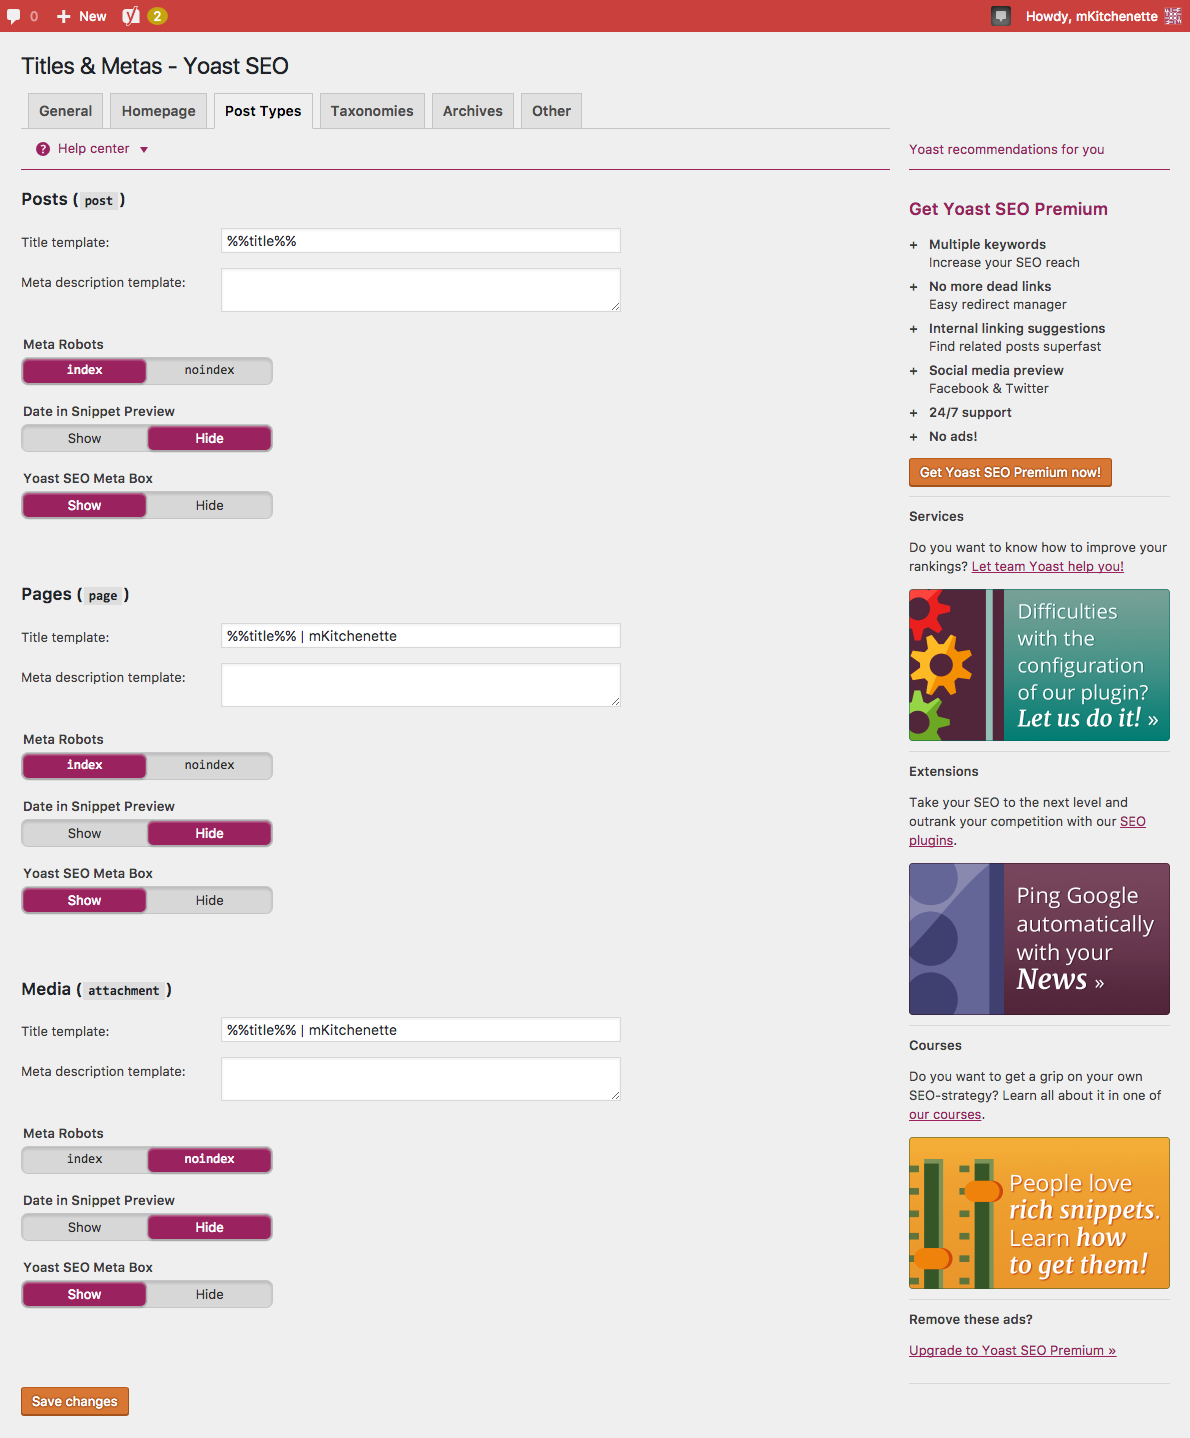
4.2. Yoast SEO Titles & Metas – Post Types
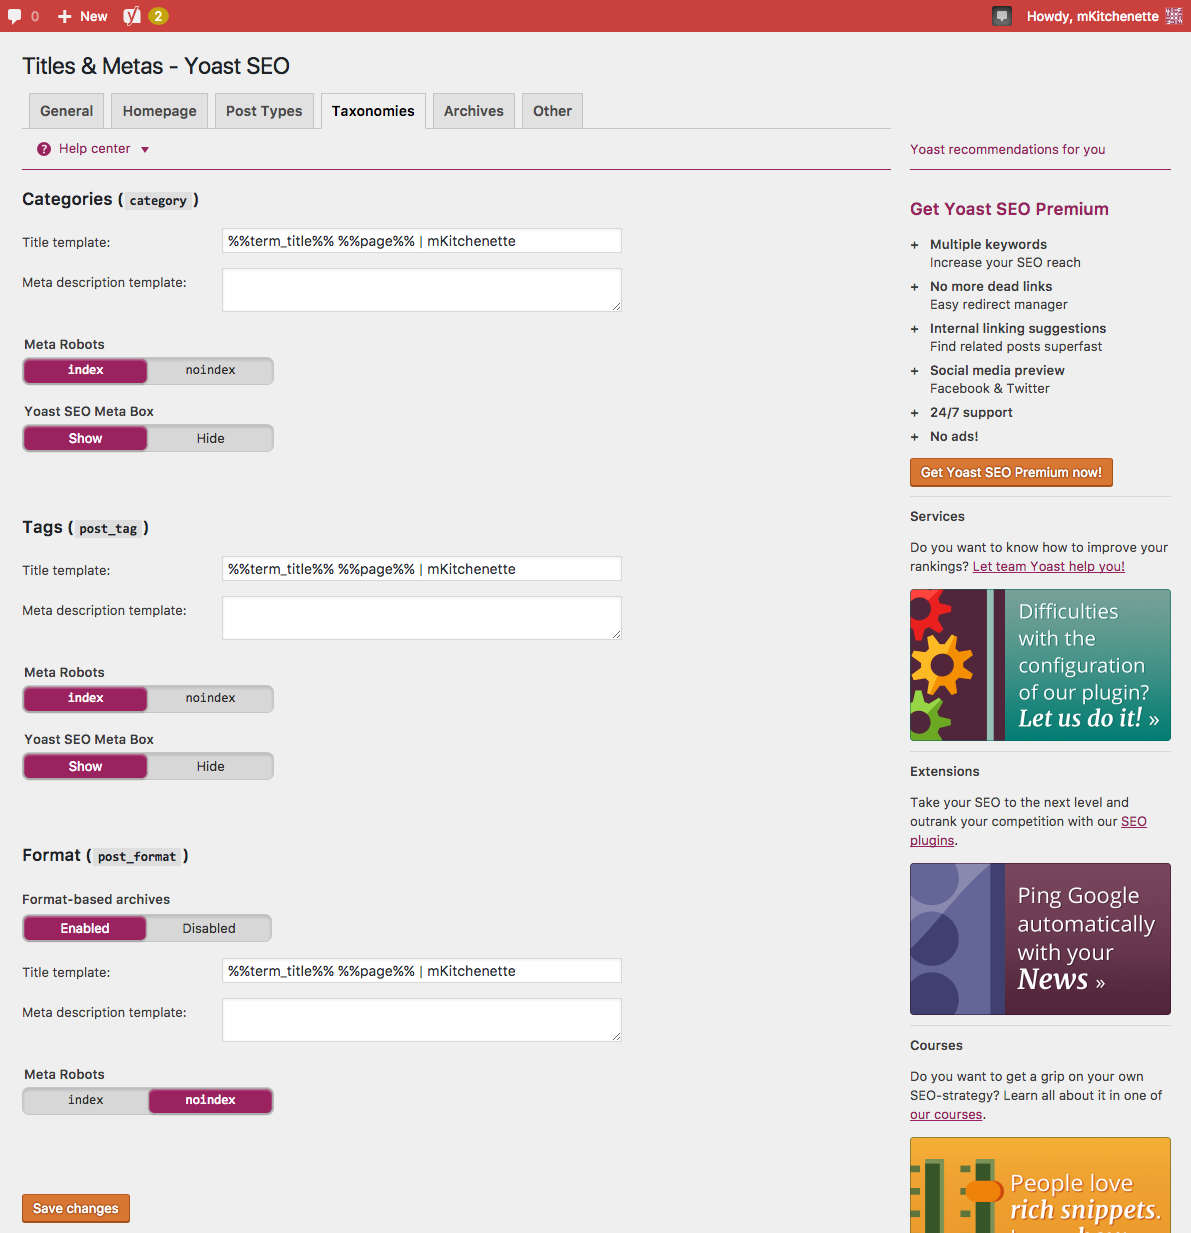
4.3. Yoast SEO Titles & Metas – Taxonomies
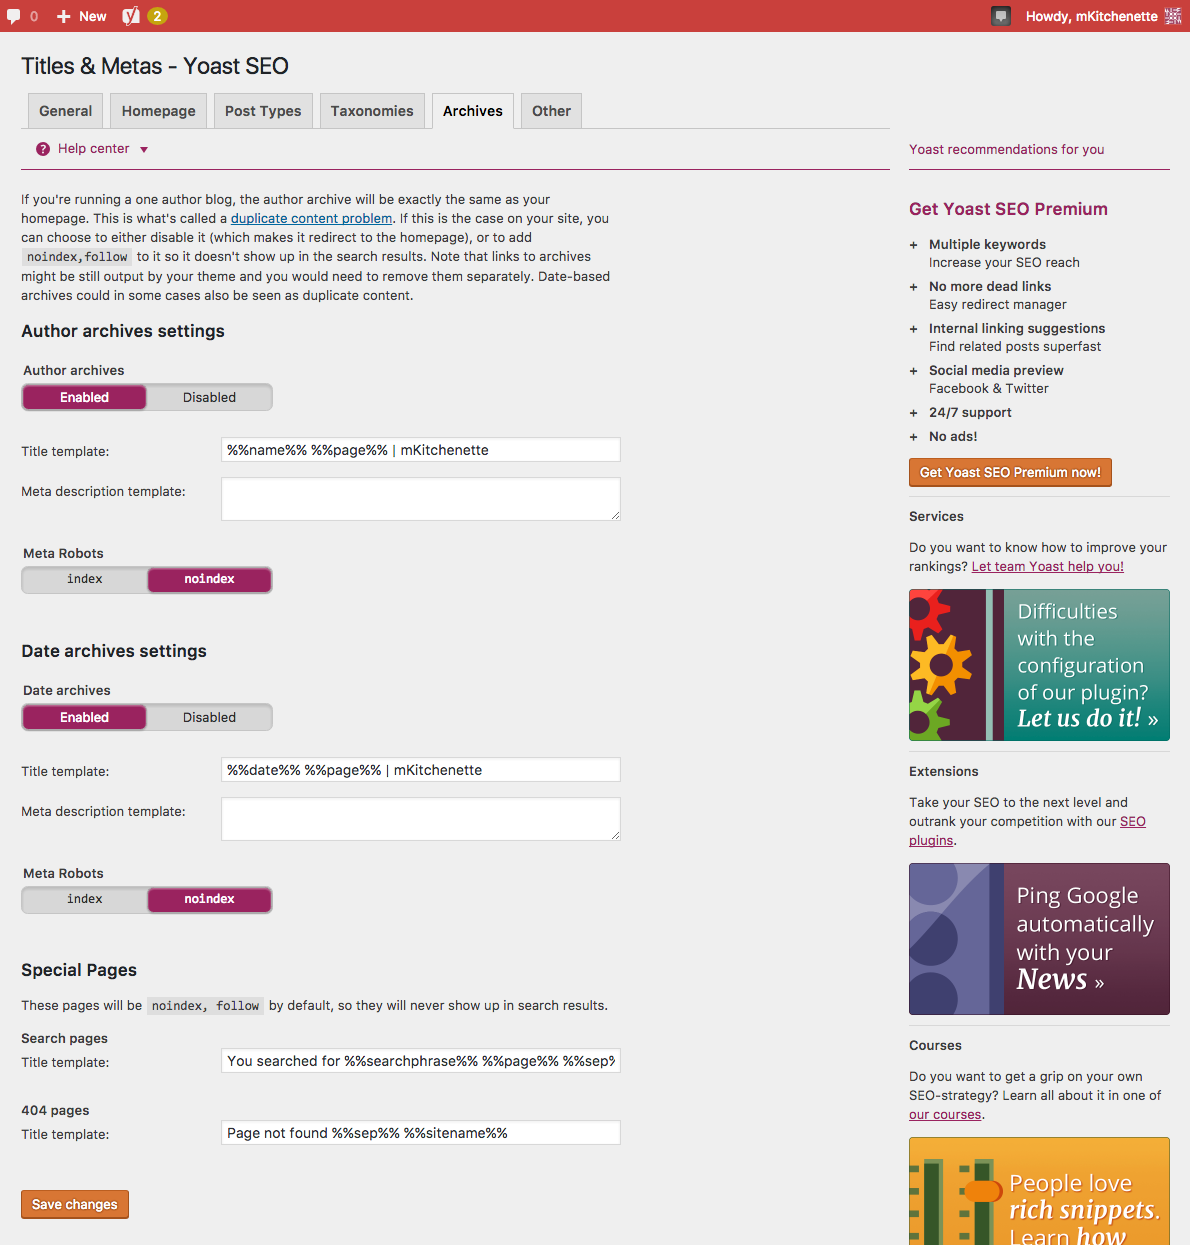
4.4. Yoast SEO Titles & Metas – Archives
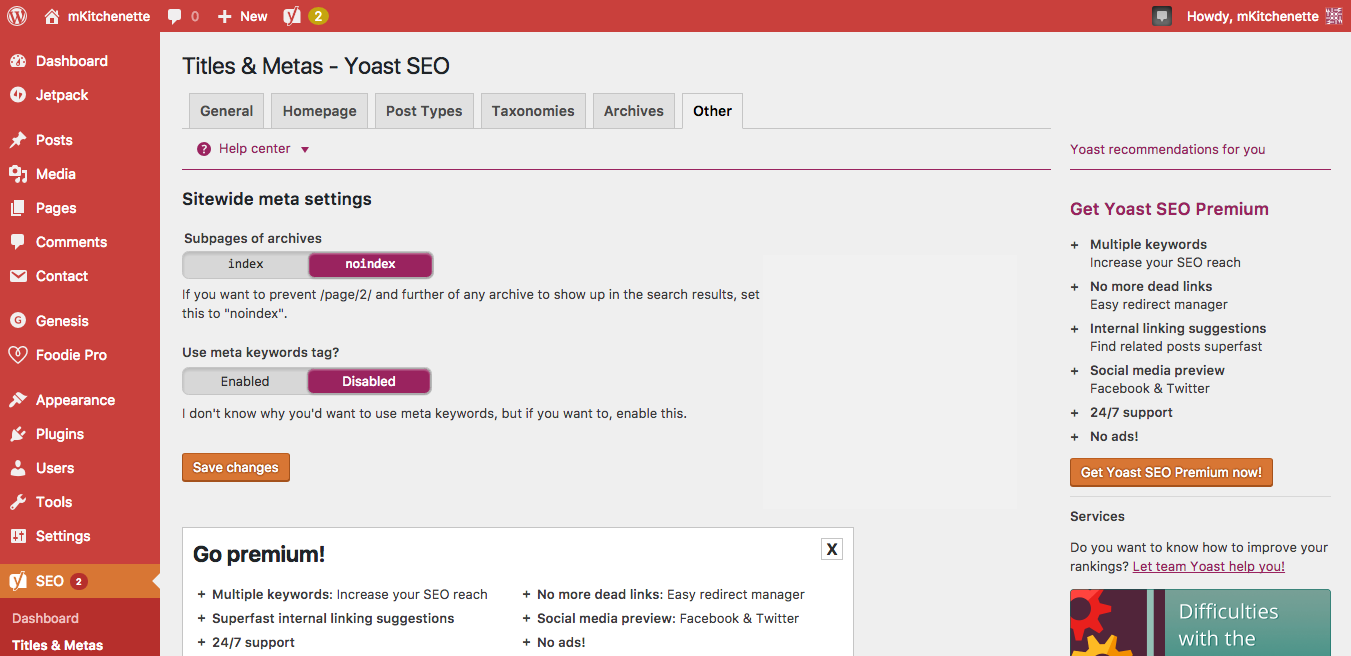
4.5. Yoast SEO Titles & Metas – Other
5. Yoast SEO Social
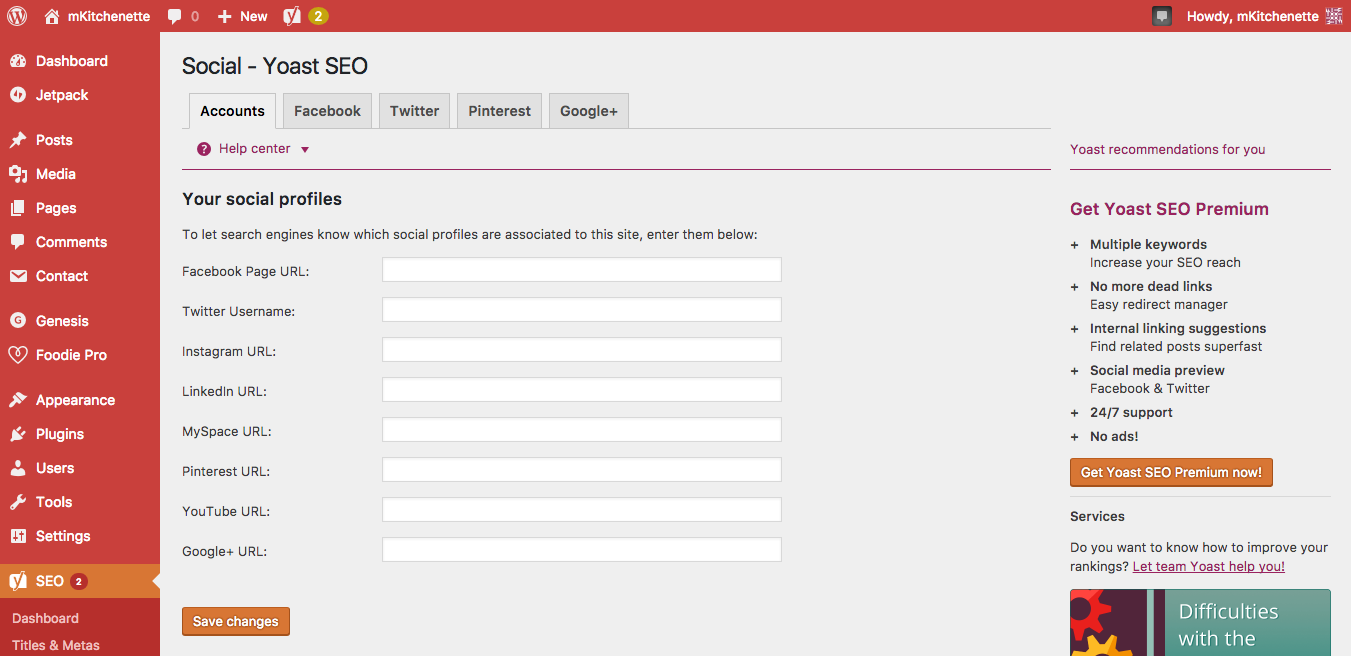
Enter your social media profiles so that search engines will associate it with your WordPress site.
Like this:

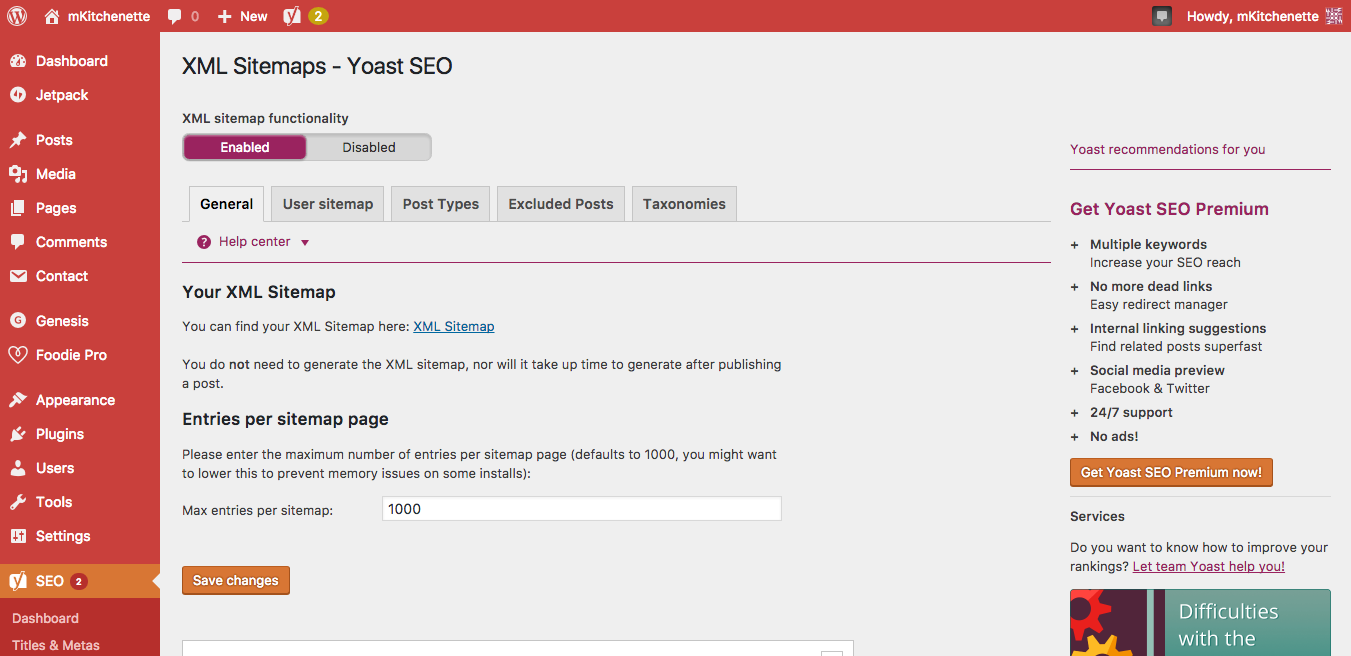
6. Yoast SEO XML Sitemaps
7. Google Analytics

Google Analytics is a free web analytics and reporting service by Google offering traffic analysis and interactive reporting for small, medium and large websites. Google Analytics offers real-time reports, visitor tracking, navigation analysis, traffic segmentation, conversion rates, search engine activity, content analysis, social media statistics, mobile analytics, advertising analytics, and more.
7.1. Sign Up For Google Analytics
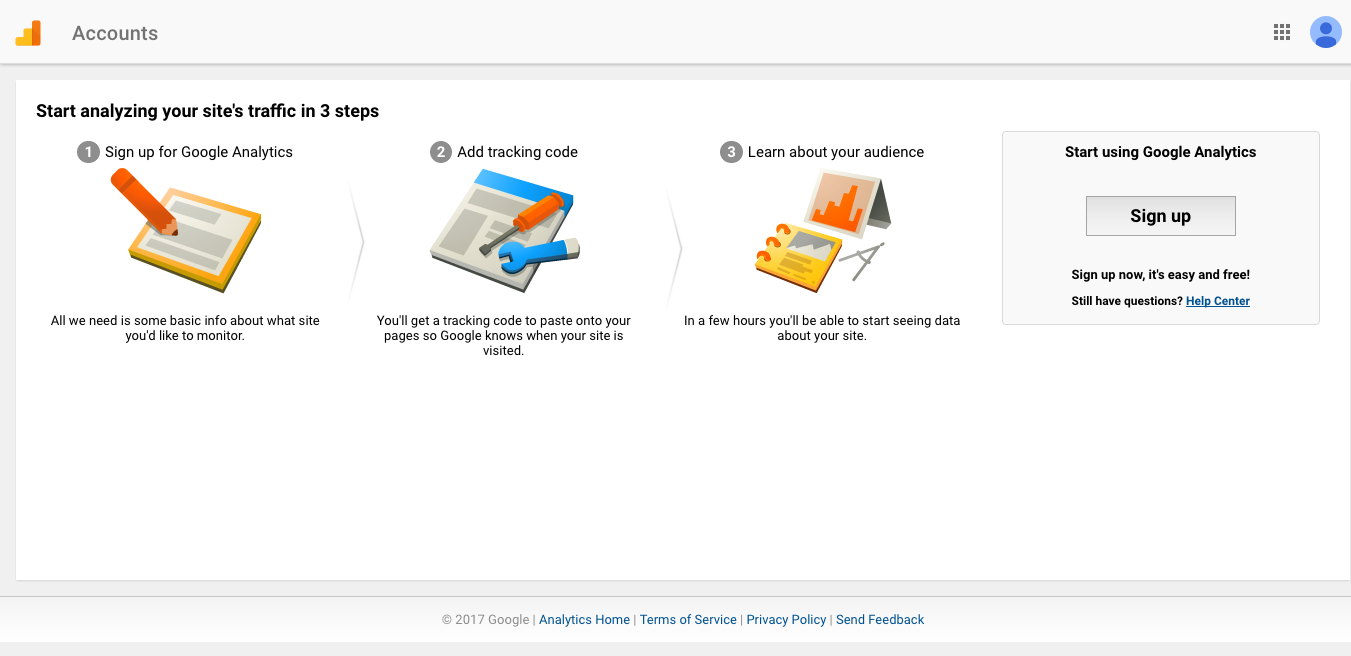
Go here https://analytics.google.com/analytics/web/ to sign up for a new Google Analytics account (using your Google/Gmail account).
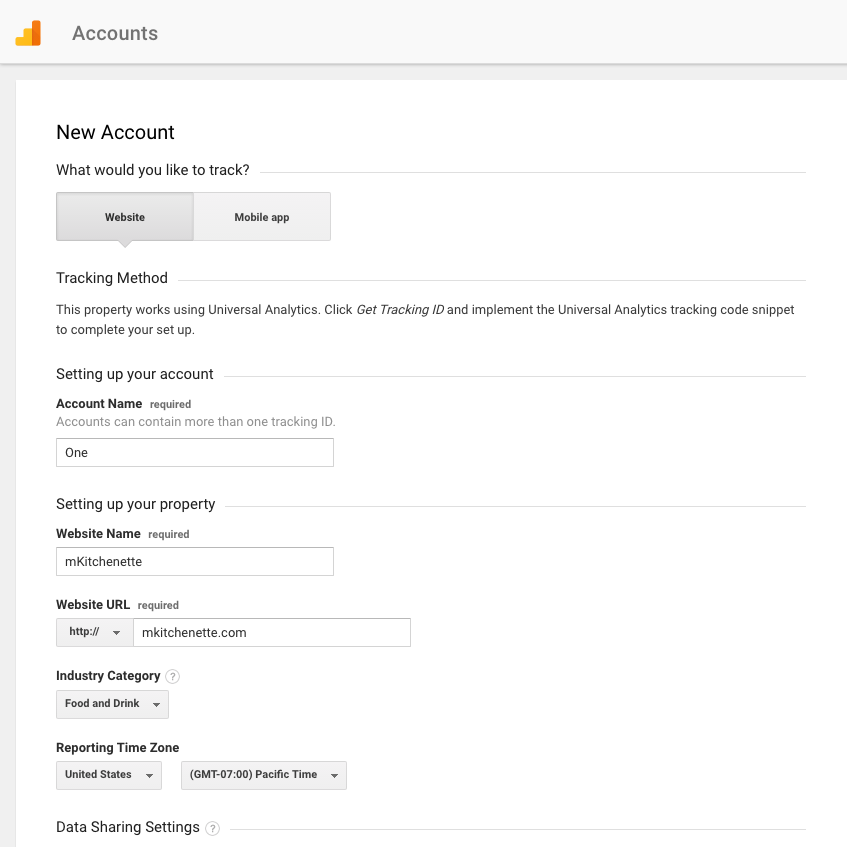
7.2. Google Analytics New Account
7.3. Google Analytics Get Tracking ID
![]()
7.4. Accept Google Analytics Terms of Service

7.5. Google Analytics Tracking ID
![]()
7.6. Adding Google Analytics Tracking ID
Copy-paste your Google Analytics website tracking code to your WordPress site’s header. Go to WordPress Dashboard > Genesis > Theme Settings, and paste the code into the “Header Scripts” field.
![]()
8. mKitchenette (Final Preview)
Here’s the final preview of mKitchenette (homepage, sample page, and contact page) after:
- Installing all necessary plugins recommended by the theme maker.
- Installing some of the most popular as well as essential plugins.
- Setting up Google Webmaster Tools & Google Analytics.
8.1. mKitchenette Homepage

And just in case, here’s the full preview of mKitchenette homepage.
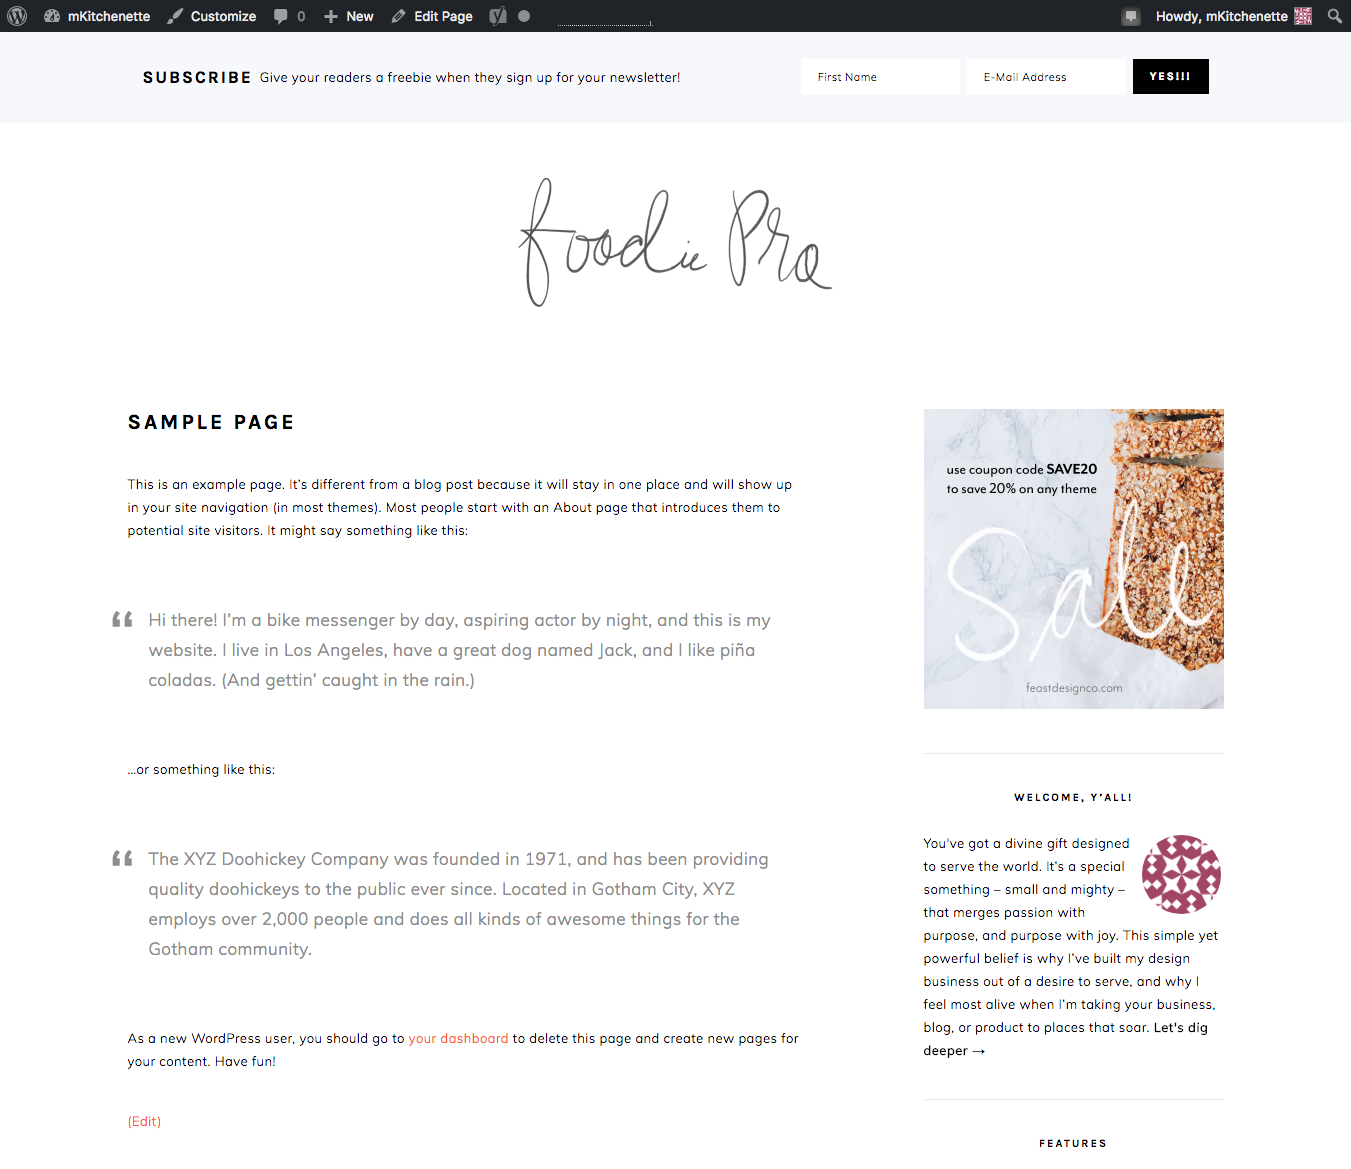
8.2. mKitchenette Sample Page
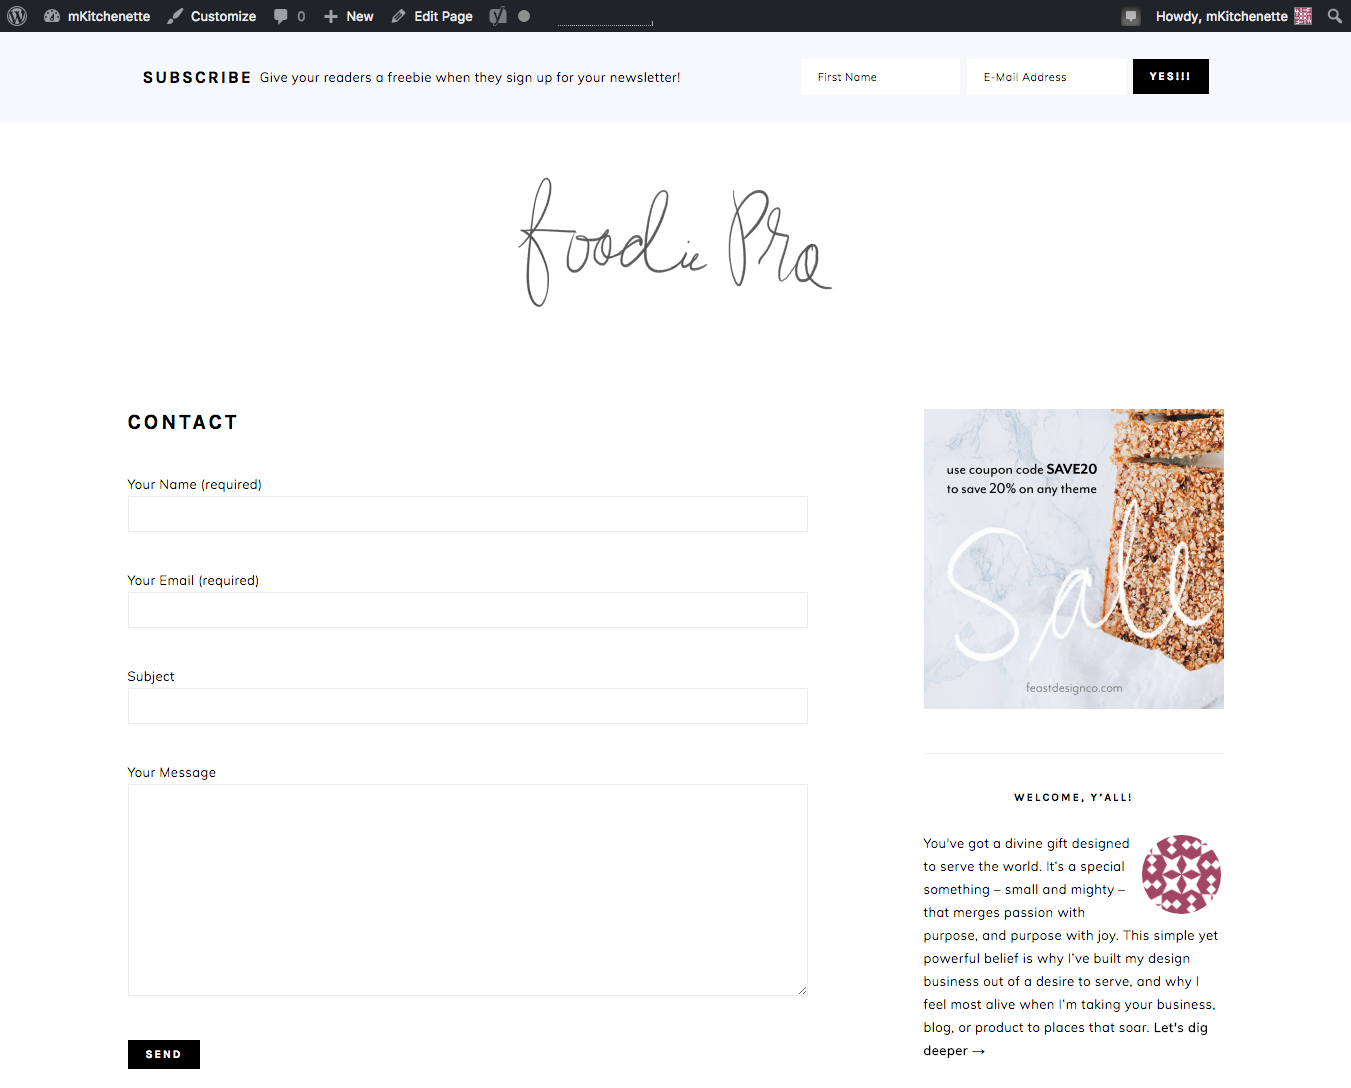
8.3. mKitchenette Contact Page
How To Start A Food Blog — Step-by-Step Tutorials
- How To — Start A Food Blog — Buy A Domain Name & Web Hosting
- How To — Start A Food Blog — Install WordPress
- How To — Start A Food Blog — Install A WordPress Theme
- How To — Start A Food Blog — Import WordPress Demo Content And Install & Configure Necessary WordPress Plugins
- How To — Start A Food Blog — Change WordPress Profile & Settings
- How To — Start A Food Blog — Install & Configure Essential WordPress Plugins
- How To — Start A Food Blog — Customize WordPress
- How To — Start A Food Blog — Setup Essential Blogging Tools
- How To Start A Food Blog (A Delicious Handbook)

